Beat-making is one of the most exciting parts of music production. Whether you’re producing hip-hop, trap, pop, lo-fi, or electronic music, a strong beat forms the foundation of the track. But great beats don’t happen by accident—they’re built with intention, structure, and groove.
In this article, we’ll walk through how to create a beat step by step, from the first idea to a polished groove.
Step 1: Choose the Right Tempo and Style
Before adding any sounds, define the direction.
Ask yourself:
- What genre am I producing?
- What mood should the beat have?
- Is it slow and relaxed or fast and aggressive?
Typical BPM ranges:
- Hip-hop: 70–100 BPM
- Trap: 130–160 BPM
- Lo-fi: 60–90 BPM
- House: 120–128 BPM
The tempo sets the emotional tone of your beat.
Step 2: Start With the Drums
Drums are the backbone of most beats.
Build a basic drum pattern:
- Kick
- Snare or clap
- Hi-hats
Keep it simple at first. Focus on groove and rhythm before adding complexity.
Step 3: Create a Strong Kick and Snare Relationship
The kick and snare define the pulse.
Tips:
- Place the snare on beats 2 and 4 (for most hip-hop/pop styles)
- Experiment with kick placement for groove
- Adjust velocity for human feel
Groove is more important than complexity.
Step 4: Add Hi-Hats and Percussion
Hi-hats bring movement.
Try:
- Straight 1/8 or 1/16 patterns
- Velocity variation
- Rolls and triplets
- Slight timing shifts
Small rhythmic details make beats feel alive.
Step 5: Add a Bassline
Bass connects rhythm and harmony.
Tips:
- Follow the root notes of your chords
- Keep bass rhythm aligned with the kick
- Leave space—don’t overcrowd
In genres like trap, 808 bass often plays both rhythmic and melodic roles.
Step 6: Add Melody or Chords
Once the rhythm section is solid, add harmony.
Options:
- Simple chord progression
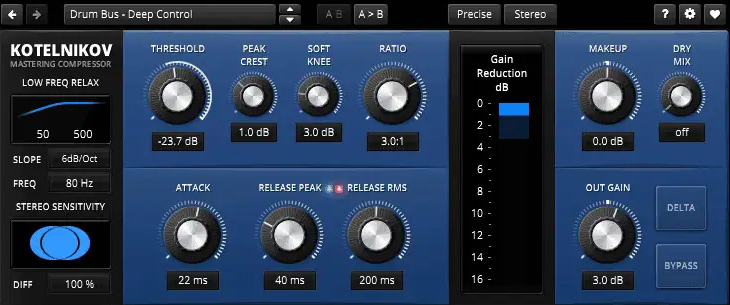
- Piano melody
- Synth lead
- Sample flip
Keep it catchy and memorable. Simplicity often wins.
Step 7: Layer and Enhance Sounds
Professional beats often use layering.
Examples:
- Layered snares or claps
- Extra percussion for texture
- Subtle background pads
Each layer should add something unique.
Step 8: Arrange the Beat
Now structure your beat into sections:
Typical structure:
- Intro
- Verse
- Hook/Chorus
- Verse
- Outro
Create variation between sections by muting or adding elements.
Step 9: Basic Mixing
Before finishing:
- Balance levels
- Remove unnecessary low frequencies
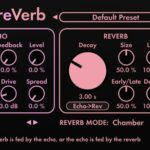
- Add light compression if needed
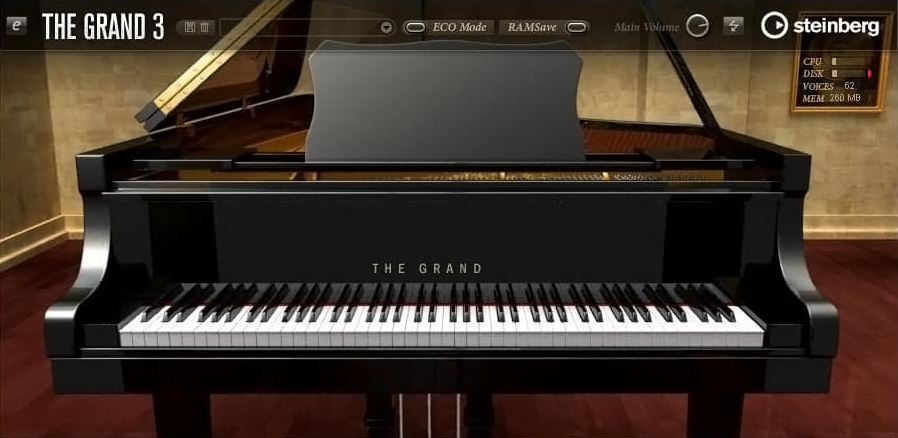
- Use subtle reverb for depth
Good balance makes a beat sound professional.
Step 10: Add Transitions and Details
Final touches matter.
Consider:
- Risers and impacts
- Reverse sounds
- Drop-outs before hooks
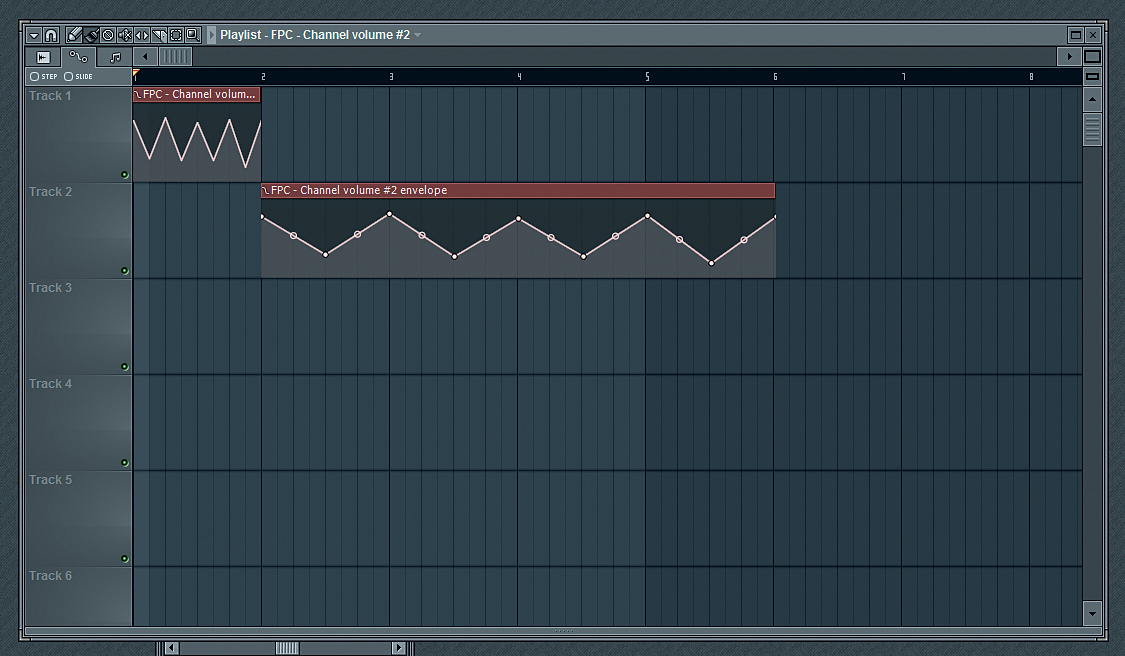
- Automation for energy
Details make your beat dynamic and engaging.
Common Beginner Mistakes
- Overcomplicating drum patterns
- Using too many sounds
- Ignoring groove
- Poor level balance
- Not finishing the arrangement
Focus on clarity and rhythm first.
Creating beats is a combination of rhythm, emotion, and structure. By following a step-by-step process—starting with drums, building groove, adding harmony, and arranging with intention—you can consistently create strong and professional-sounding beats.
Practice regularly, experiment with styles, and most importantly—finish your beats.