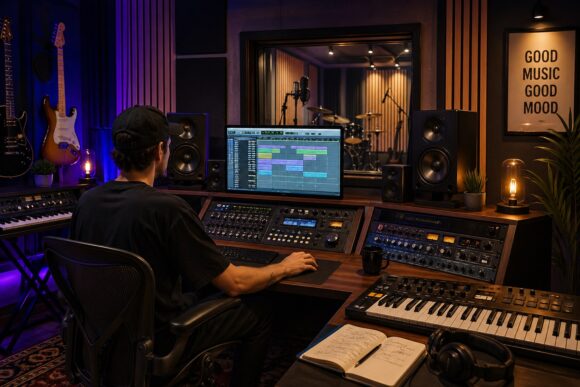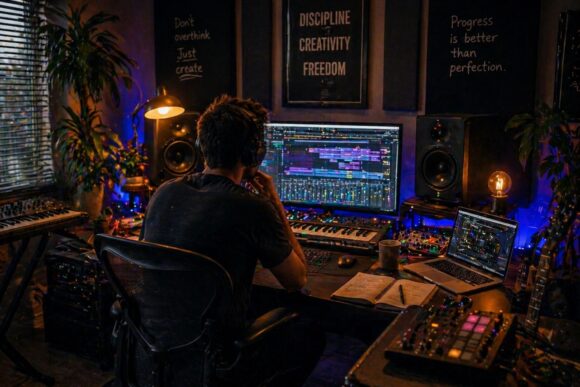
Every producer has experienced it: you create a great melody, a unique drum pattern, or an interesting sound—and then… you lose it. Either you forget to save, can’t find the project later, or never come back to it.
Saving and organizing your ideas is one of the most underrated skills in music production. It’s not just about being tidy—it’s about protecting your creativity and making your workflow more efficient.
In this article, you’ll learn why saving ideas matters and how to organize your work inside a DAW.
Why Saving Ideas Is So Important
Creative ideas are unpredictable. They don’t appear on demand—and when they do, they’re often fragile.
If you don’t capture them:
- You forget them quickly
- You lose motivation
- You waste creative momentum
Saving ideas allows you to:
- Build a library of inspiration
- Return to unfinished tracks
- Develop ideas over time
Great songs are often built from small ideas saved earlier.
1. Capture Ideas Immediately
When inspiration hits, don’t wait.
Best practice:
- Record quickly—even if it’s rough
- Don’t worry about quality
- Save everything
A simple melody recorded in 30 seconds can become a full track later.
2. Use Project Naming That Makes Sense
Avoid names like:
- “track1”
- “new beat final final v3”
Instead, use clear naming:
- “dark_trap_140bpm”
- “piano_melody_idea_A”
- “lofi_chill_sketch”
Good naming helps you find ideas quickly.
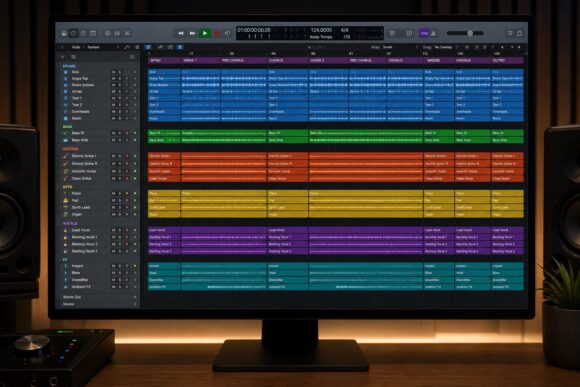
3. Create an Idea Folder System
Organize your projects into categories:
Example structure:
- Ideas / Sketches
- Work in Progress
- Finished Tracks
- Sound Design
- Experiments
This keeps your workflow clean and easy to navigate.
4. Save Versions of Your Projects
Don’t rely on one file.
Use versioning:
- track_v1
- track_v2
- track_v3
This allows you to:
- Go back to earlier ideas
- Experiment without fear
- Avoid losing progress
5. Export Audio Sketches
Sometimes opening a full project is too slow.
Instead:
- Export short MP3/WAV previews
- Keep them in a “Ideas” folder
- Listen on your phone or outside the studio
This helps you stay connected to your ideas.
6. Organize Sounds and Presets
Your workflow improves when your sounds are organized.
Tips:
- Tag favorite presets
- Create folders for drums, melodies, FX
- Save your own presets
The faster you find sounds, the faster you create.
7. Use DAW Templates
Templates reduce setup time and help you capture ideas faster.
Include:
- Pre-loaded instruments
- Routing
- Basic effects
When inspiration comes, you’re ready instantly.
8. Keep Notes Inside Your Projects
Leave reminders for your future self.
Examples:
- “Fix bass timing”
- “Try different snare”
- “Add vocals here”
This makes it easier to continue later.
9. Don’t Delete Ideas Too Quickly
What sounds bad today might be useful later.
- Old ideas can inspire new tracks
- You can reuse melodies or sounds
- You can learn from past work
Keep more than you delete.
10. Back Up Your Work
Losing projects is one of the worst experiences for a producer.
Use:
- Cloud storage
- External drives
- Automatic backups
Always have at least one backup.
Common Mistakes
- Not saving frequently
- Poor file naming
- No folder structure
- Deleting ideas too early
- Keeping everything in one place
Avoiding these mistakes saves time and frustration.
Saving and organizing your ideas is not boring—it’s a creative advantage. The more structured your workflow is, the easier it becomes to turn ideas into finished tracks.
Your future self will thank you for every idea you save today.