An audio interface is one of the most important pieces of equipment in any home studio. It connects your microphones, instruments, and speakers to your computer—and directly affects your recording quality, latency, and workflow.
But with so many options available, choosing the right interface can feel confusing. In this guide, you’ll learn what an audio interface does, what features matter, and how to choose the right model for your needs.
What Is an Audio Interface?
An audio interface is a device that converts:
- Analog signals → Digital (for recording into your DAW)
- Digital signals → Analog (for playback through speakers/headphones)
In simple terms, it acts as the bridge between your gear and your computer.
Why You Need an Audio Interface
While computers have built-in sound cards, they are not designed for music production.
An audio interface provides:
- Higher audio quality
- Lower latency
- Better recording inputs (XLR, instrument inputs)
- Phantom power for microphones
- Stable drivers for DAWs
Key Features to Consider
1. Number of Inputs and Outputs
Think about what you need to record.
- 1–2 inputs → vocals, guitar, basic setup
- 4+ inputs → recording multiple instruments
- 8+ inputs → bands, drums, advanced setups
Choose based on your workflow—not future overkill.
2. Audio Quality (Bit Depth & Sample Rate)
Most modern interfaces support:
- 24-bit depth
- 44.1–192 kHz sample rate
For beginners, 24-bit / 44.1 or 48 kHz is more than enough.
3. Preamps
Preamps amplify microphone signals.
Look for:
- Clean gain
- Low noise
- Enough headroom
Good preamps make a noticeable difference in vocal recordings.
4. Latency Performance
Latency is the delay between input and output.
Low latency is crucial for:
- Recording vocals
- Playing MIDI instruments
- Monitoring in real time
Interfaces with good drivers provide smoother performance.
5. Connectivity (USB, USB-C, Thunderbolt)
- USB / USB-C → most common and sufficient
- Thunderbolt → lower latency, higher performance
For most users, USB-C interfaces are ideal.
6. Phantom Power
Required for condenser microphones.
Make sure your interface includes:
- 48V phantom power (usually standard)
7. Headphone Output and Monitoring
Look for:
- Dedicated headphone volume control
- Direct monitoring (zero latency)
- Multiple outputs if needed
Monitoring flexibility improves workflow.
Popular Beginner-Friendly Audio Interfaces
Here are some widely used models:
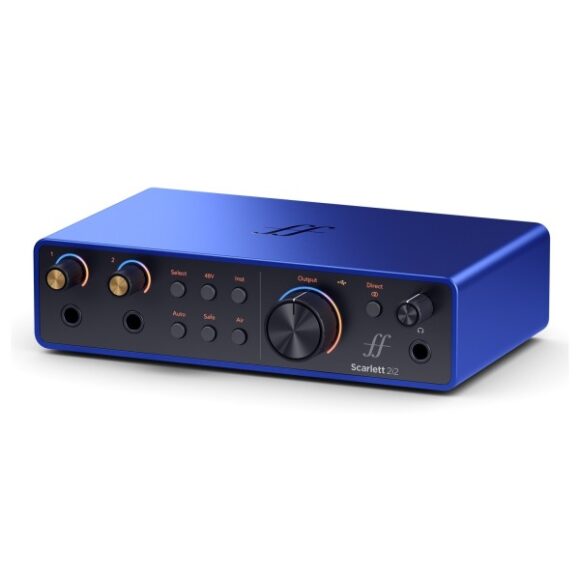
Focusrite Scarlett 2i2
- Great for beginners
- Clean preamps
- Reliable performance
Audient iD14
- High-quality preamps
- Solid build
- Slightly more premium option
Universal Audio Volt 2
- Vintage-style sound mode
- Easy to use
- Great for vocals and instruments
PreSonus AudioBox USB 96
- Budget-friendly
- Simple setup
- Good for beginners
Choosing Based on Your Needs
Beginner Producer
- 2 inputs
- USB interface
- Simple controls
Singer-Songwriter
- 2 inputs (mic + instrument)
- Good preamps
- Headphone monitoring
Advanced Producer
- Multiple inputs/outputs
- MIDI connectivity
- Expandability
Recording Bands
- 8+ inputs
- External preamps or ADAT support
Common Mistakes When Choosing an Interface
- Buying too many inputs “just in case”
- Ignoring driver stability
- Overpaying for features you won’t use
- Choosing based only on brand
Focus on your actual workflow.
Do You Need an Expensive Interface?
Not necessarily.
Modern budget interfaces already offer:
- Excellent audio quality
- Clean recordings
- Low noise
Skill and technique matter far more than price.
Choosing the right audio interface is about understanding your needs and keeping things simple. A good interface improves your recordings, reduces frustration, and helps you focus on making music.
Start with what you need today—and upgrade when your workflow demands it.