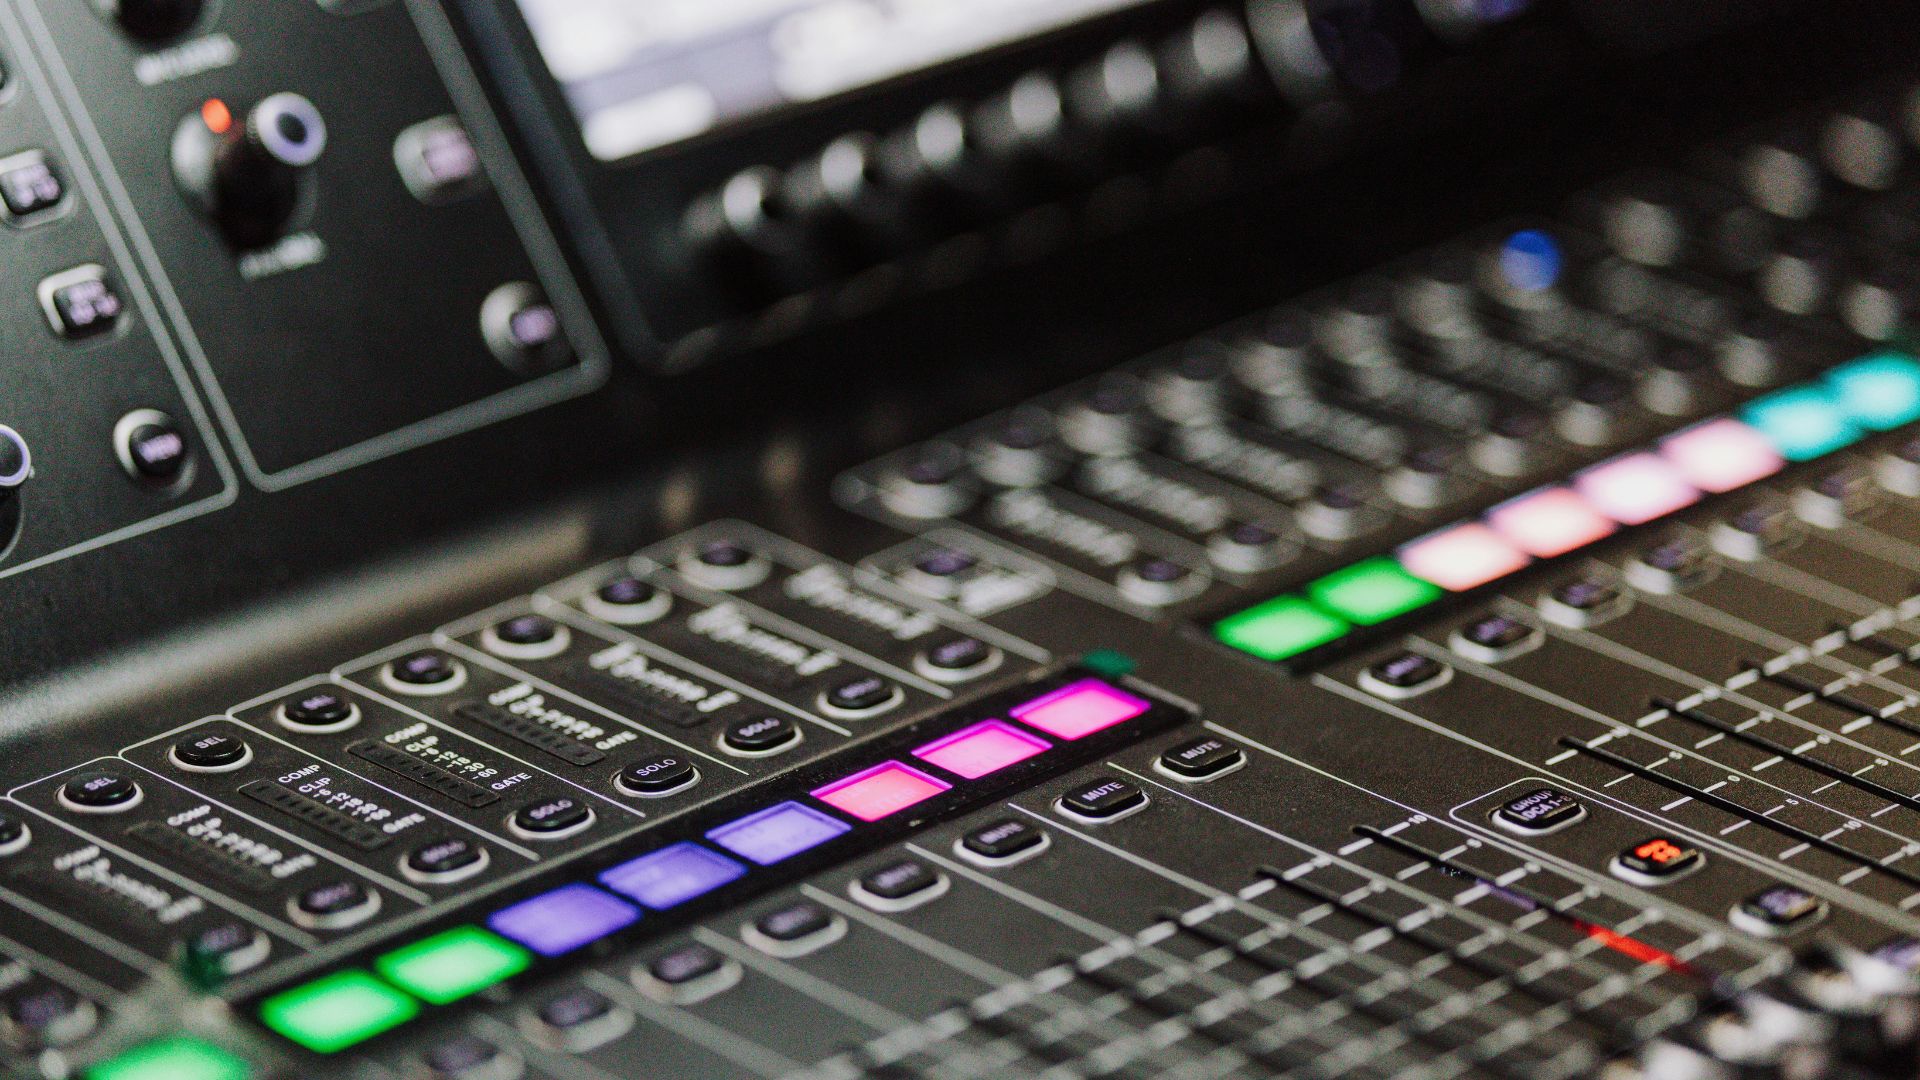
Automation is one of the most powerful tools in modern music production. While it’s often associated with basic volume control, automation can be used in far more creative ways. When applied thoughtfully, it brings movement, emotion, and life to a track—turning static sounds into dynamic musical experiences.
In this article, we’ll explore what automation is and how to use it creatively in music production.
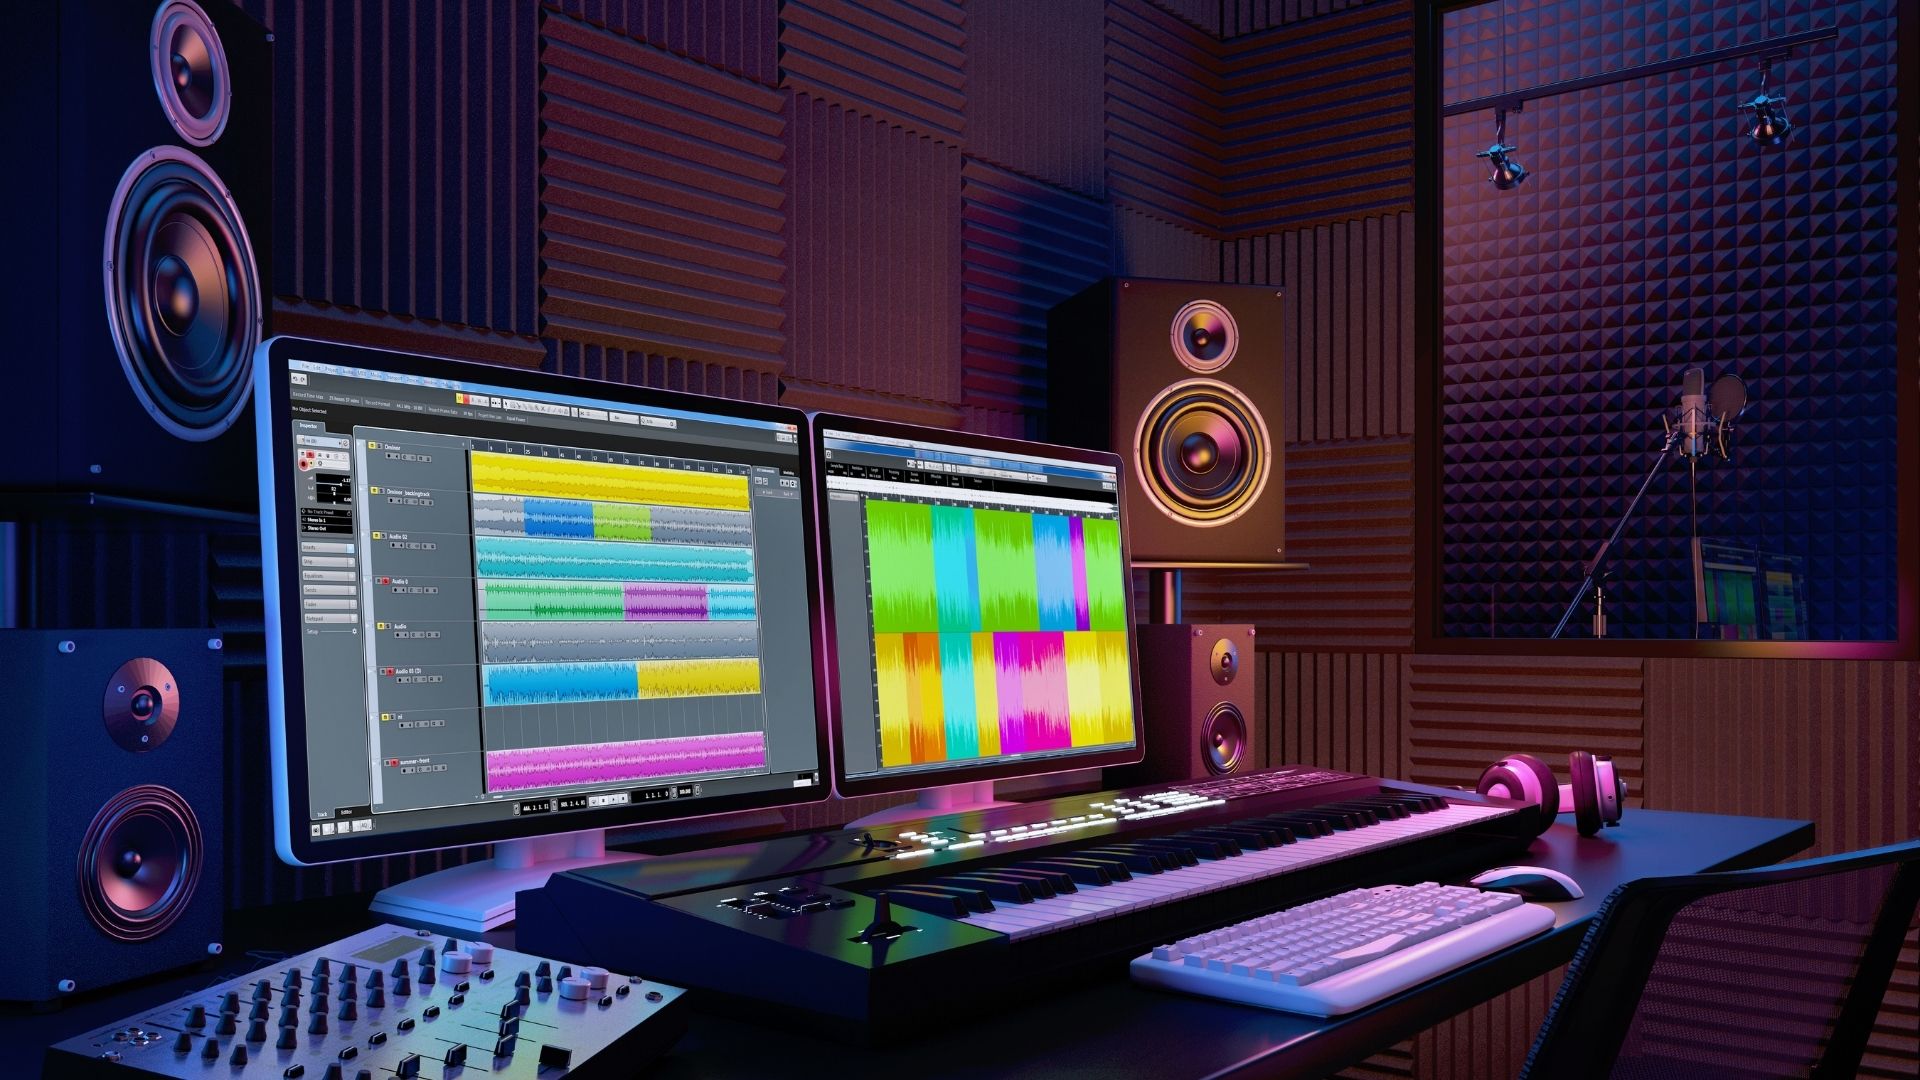
What Is Automation?
Automation allows you to change parameters over time in your DAW. Instead of keeping a setting static, you can program it to evolve throughout a song.
Commonly automated parameters include:
- Volume
- Pan
- EQ frequency or gain
- Filter cutoff
- Reverb and delay levels
- Synth parameters
Automation follows the timeline of your project and plays back exactly as programmed.
Why Automation Matters
Automation helps:
- Create movement and variation
- Build tension and release
- Emphasize key moments
- Keep arrangements interesting
- Add a human feel to digital music
Without automation, tracks often sound flat and repetitive.
Creative Volume Automation
Volume automation goes far beyond simple fades.
Creative ideas:
- Subtle level changes between song sections
- Ducking elements for groove instead of heavy compression
- Accentuating fills and transitions
- Gradual build-ups before drops or choruses
Small volume moves can have a big emotional impact.
Filter Automation for Energy and Motion
Automating filter cutoff is a classic but effective technique.
Common uses:
- Low-pass filter sweeps in builds
- High-pass filters to create tension
- Opening filters to increase energy
- Closing filters for breakdowns
Filter automation is especially powerful in electronic music.
Automation in Reverb and Delay
Rather than using effects constantly, automate them.
Creative techniques:
- Adding reverb only at the end of phrases
- Increasing delay throws on specific words or notes
- Automating feedback for dramatic echoes
- Dry verses, wet choruses
This keeps mixes clean while adding excitement.
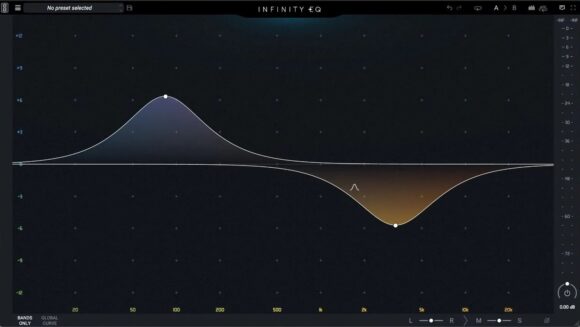
EQ Automation for Dynamic Control
EQ doesn’t have to be static.
Examples:
- Reducing low-end during busy sections
- Boosting presence only when needed
- Taming harsh frequencies dynamically
EQ automation is a powerful alternative to dynamic EQ.
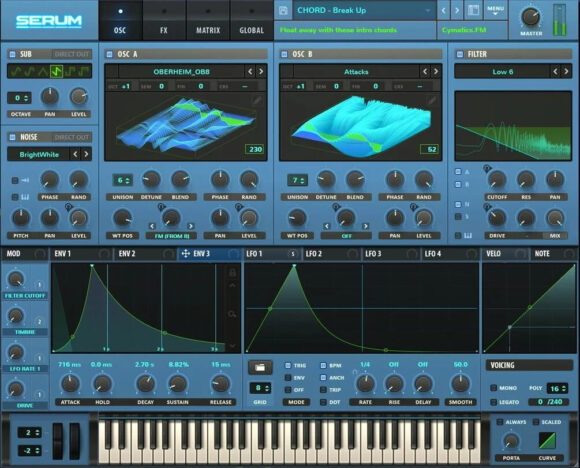
Synth Automation and Sound Design
Synths are perfect candidates for automation.
Automate:
- Oscillator mix
- Wavetable position
- Envelope amounts
- LFO rates and depths
This creates evolving textures and expressive leads.
Automation for Transitions
Automation is key to smooth transitions.
Try automating:
- Risers and effects volume
- Stereo width
- Noise sweeps
- Reverb tails
These details help sections flow naturally into each other.
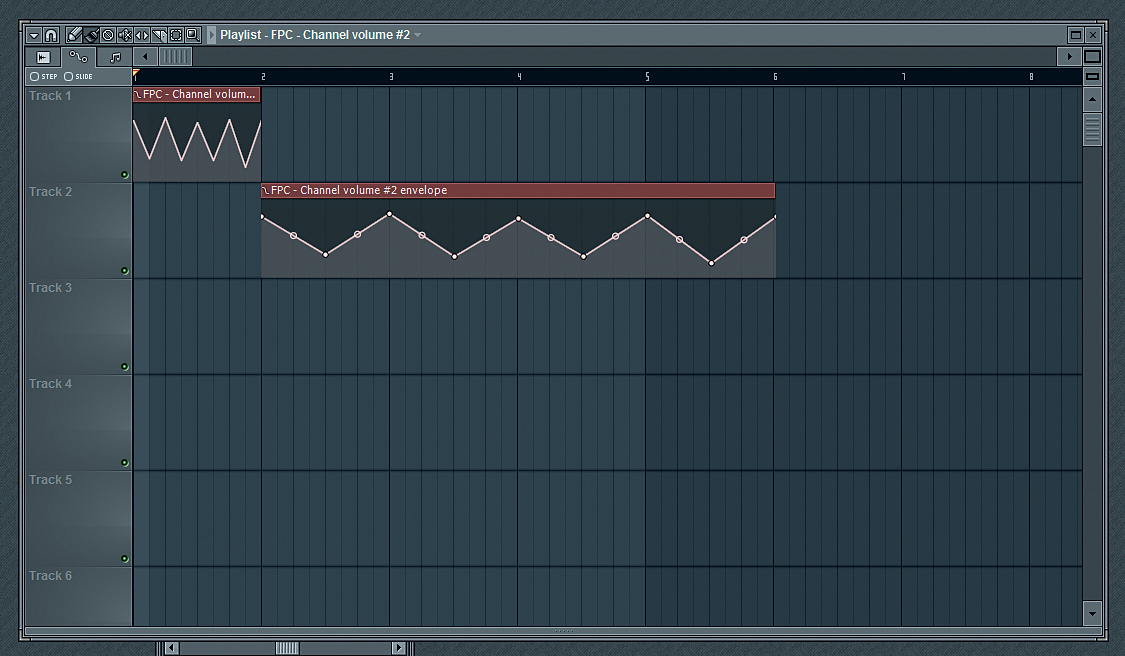
Manual vs Drawn Automation
Two main approaches:
- Drawn automation for precision
- Recorded automation for a human feel
Combining both often yields the best results.
Common Automation Mistakes
Avoid:
- Over-automating every parameter
- Extreme moves that distract
- Ignoring musical context
- Using automation without purpose
Automation should support the song, not dominate it.
A Simple Creative Automation Workflow
- Start with a static mix
- Identify repetitive or flat sections
- Add automation to create movement
- Keep changes subtle
- Bypass and compare
If you miss the automation when it’s off, it’s doing its job.
Automation is not just a technical tool—it’s a creative one. Used intentionally, it adds emotion, movement, and polish to your productions. Whether you’re shaping synths, enhancing vocals, or building transitions, automation helps bring your music to life.