Recording vocals at home has never been more accessible. With affordable equipment and modern DAWs, it’s possible to achieve professional-sounding vocal recordings without a studio. However, great results depend more on technique and preparation than expensive gear.
This guide explains how to record vocals at home properly, step by step.
Choose the Right Recording Space
The room matters more than the microphone.
Tips for choosing a space:
- Avoid large, empty rooms
- Use rooms with soft furnishings
- Stay away from windows and noisy areas
Simple acoustic treatment:
- Hang thick blankets or duvets
- Use curtains, rugs, and bookshelves
- Record in a closet with clothes if possible
The goal is to reduce reflections and background noise.
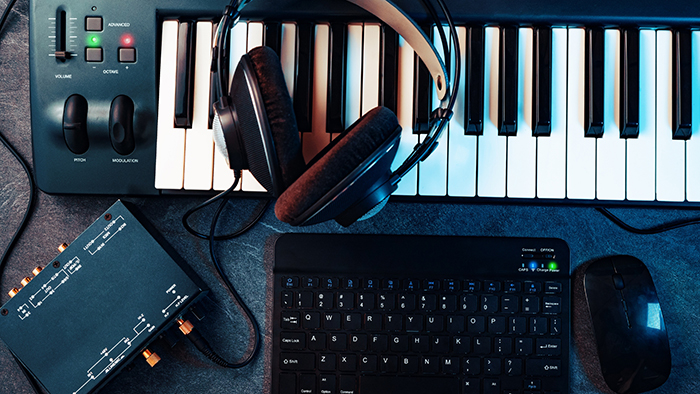
Essential Equipment for Home Vocal Recording
You don’t need a professional studio, but a few basics are required.
Minimum setup:
- Microphone (condenser or dynamic)
- Audio interface
- Pop filter
- Closed-back headphones
- DAW (Digital Audio Workstation)
A reliable interface and clean mic signal are more important than high-end gear.
Microphone Choice and Placement
Condenser vs Dynamic:
- Condenser mics capture detail and brightness
- Dynamic mics handle untreated rooms better
Mic placement tips:
- Keep the mic 15–20 cm (6–8 inches) from the mouth
- Use a pop filter to reduce plosives
- Slightly angle the mic to soften harsh consonants
Consistent positioning ensures consistent tone.
Set Proper Recording Levels
Good gain staging prevents distortion and noise.
Best practices:
- Aim for peaks around -10 to -6 dBFS
- Avoid clipping at all costs
- Record quieter rather than too loud
You can always increase volume later.
Create a Comfortable Vocal Performance
A great performance matters more than technical perfection.
Tips for better takes:
- Warm up before recording
- Stay hydrated
- Use comfortable headphone levels
- Turn off distractions
Confidence and comfort directly affect vocal quality.
Reduce Background Noise
Before hitting record:
- Turn off fans, AC, and electronics
- Silence phones and notifications
- Record during quiet hours
Always record a few seconds of room tone—it helps with noise reduction later.
Use Proper Monitoring
- Use closed-back headphones to prevent bleed
- Adjust latency settings in your DAW
- Avoid loud headphone levels
Low-latency monitoring helps singers stay in time and in tune.
Record Multiple Takes and Comp Vocals
Professional vocals are rarely one perfect take.
Best approach:
- Record several full takes
- Capture extra takes for tricky sections
- Comp the best parts into one final performance
This gives you flexibility and better results.
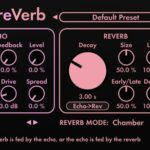
Basic Vocal Processing (After Recording)
Keep processing simple at first.
Typical vocal chain:
- High-pass filter to remove low rumble
- Light compression to control dynamics
- De-esser for harsh “S” sounds
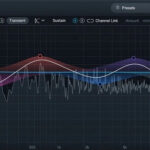
- Subtle EQ for clarity
Less processing often sounds more natural.
Common Home Recording Mistakes
Avoid these pitfalls:
- Recording in an untreated room
- Setting levels too hot
- Standing too far or too close to the mic
- Over-processing vocals
Focus on clean recording first—mixing comes later.
Recording vocals at home is about control, preparation, and performance. With a quiet space, proper mic technique, and careful gain staging, you can achieve impressive results even in a simple home setup.
Great vocals start before you press record.