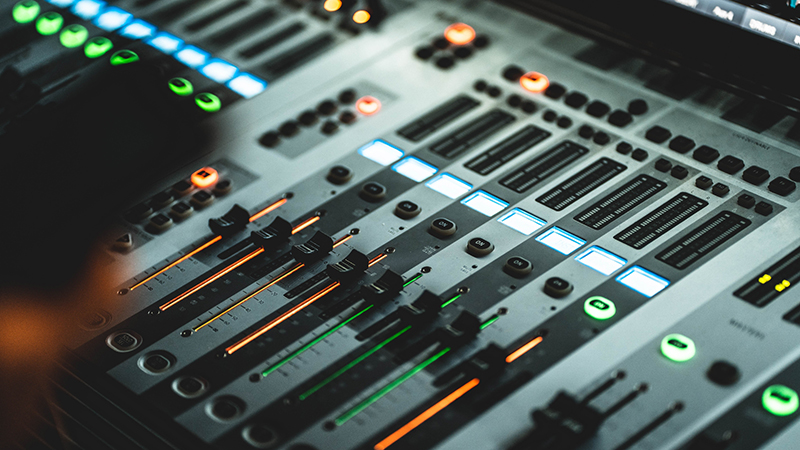
Compression is one of the most powerful—and most misunderstood—tools in music production. Used well, it brings clarity, consistency, and energy to a mix. Used poorly, it can flatten dynamics, kill emotion, and make tracks sound lifeless.
In this article, we’ll explore the role of compression in a mix and explain how to use a compressor consciously, with intention rather than habit.
What Is Compression?
A compressor reduces the dynamic range of a signal—the difference between the loudest and quietest parts.
In simple terms:
-
Loud sounds get quieter
-
Quiet sounds become more audible (after makeup gain)
The goal is not just loudness, but control and balance.
Why Compression Matters in a Mix
Compression helps a mix by:
-
Controlling uneven performances
-
Making tracks sit better together
-
Enhancing punch and sustain
-
Improving clarity and intelligibility
-
Adding character and energy
However, compression should always serve a purpose—not be applied automatically.
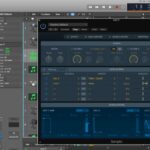
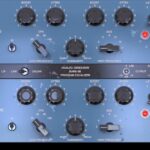
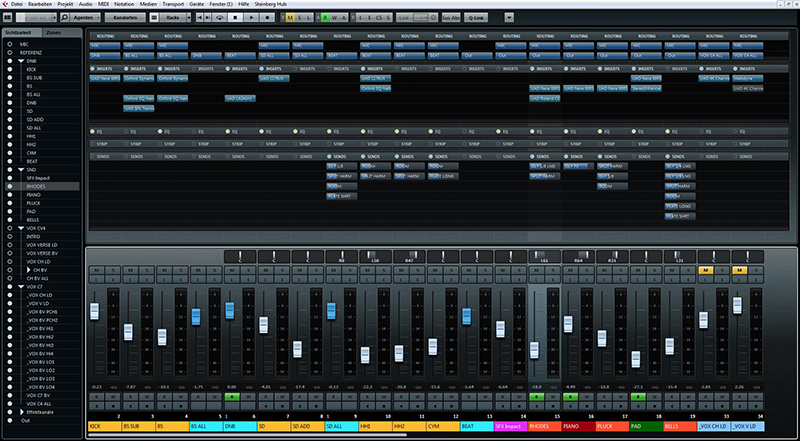
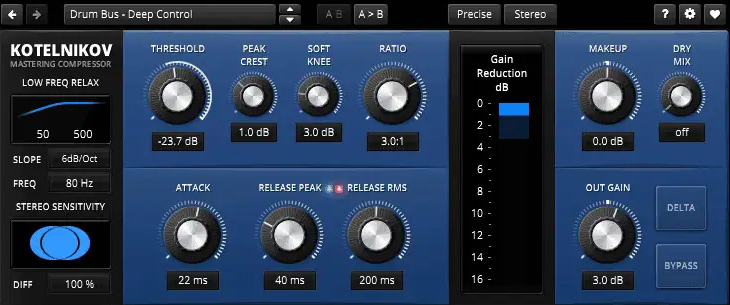
Key Compressor Parameters Explained
Understanding the main controls is essential for intentional use.
Threshold
Determines the level at which compression starts.
-
Lower threshold = more compression
Ratio
Controls how strongly the signal is compressed.
-
2:1 – gentle control
-
4:1 – standard mix compression
-
8:1+ – aggressive or limiting
Attack
How quickly the compressor reacts.
-
Fast attack → tames transients
-
Slow attack → preserves punch
Release
How quickly compression stops.
-
Fast release → energetic, sometimes aggressive
-
Slow release → smooth and natural
Makeup Gain
Raises the output level after compression.
Compression as Dynamic Control
The most common use of compression is evening out performance dynamics.
Examples:
-
Vocals with inconsistent volume
-
Bass guitar with uneven notes
-
Acoustic instruments with strong transients
Here, the compressor acts like an automatic fader, maintaining a stable level without constant automation.
Compression for Punch and Energy
Compression can also enhance transients and groove.
-
Slow attack + medium release → punchy drums
-
Parallel compression → thicker, more energetic sound
-
Bus compression → cohesive drum or instrument groups
This type of compression is about feel, not just control.
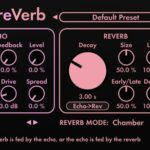
Tone and Color: Creative Compression
Some compressors are valued for their sound character, not just functionality.
-
Optical compressors → smooth and musical
-
FET compressors → aggressive and fast
-
VCA compressors → clean and precise
Using compression for tone means listening carefully and choosing tools intentionally.
Common Compression Mistakes
– Over-compressing everything
– Using presets without listening
– Too fast attack on drums (kills punch)
– Ignoring release timing
– Compressing when automation would work better
Compression should solve a problem—not create one.
When NOT to Use Compression
Not every track needs compression.
Avoid compression when:
-
The performance already sounds balanced
-
Dynamics are musically important
-
You’re compressing “just in case”
Sometimes, the best compressor setting is bypass.
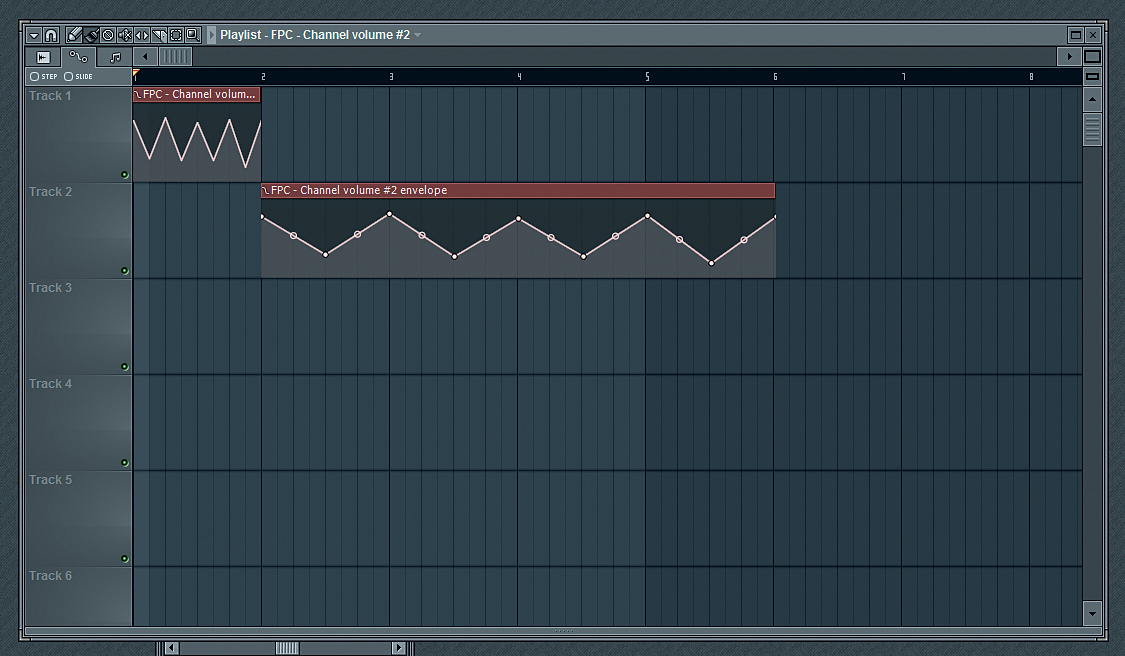
Compression vs. Automation
Compression and volume automation serve different purposes:
-
Compression controls micro-dynamics
-
Automation shapes macro-dynamics
The best mixes often use both, intentionally and subtly.
How to Use a Compressor Consciously (Step-by-Step)
-
Ask: What problem am I solving?
-
Start with gentle settings
-
Adjust attack and release while listening
-
Match output level (avoid loudness bias)
-
Bypass often to compare
-
Stop when it sounds better—not louder
Compression is not about making everything louder or flatter—it’s about control, balance, and musical intention. When you understand what a compressor is doing and why you’re using it, your mixes become clearer, punchier, and more emotional.
Learn to listen. Trust your ears. Use compression with purpose.